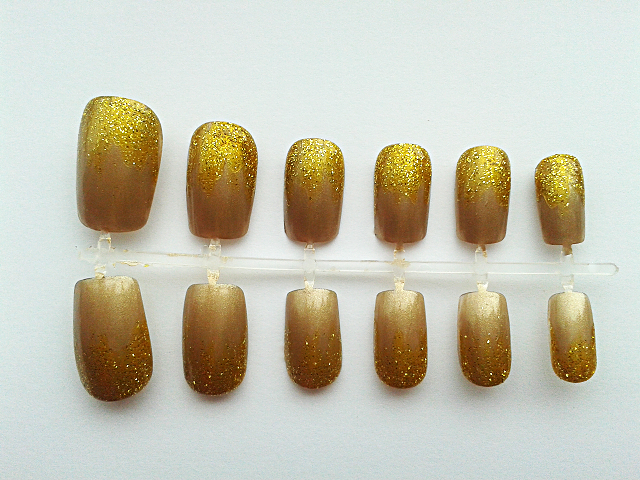
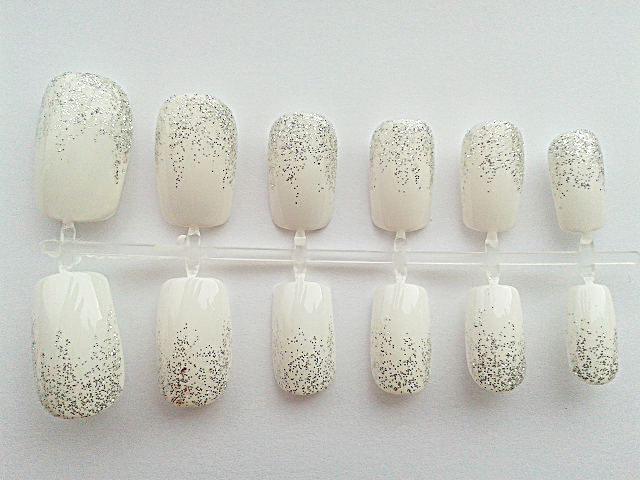
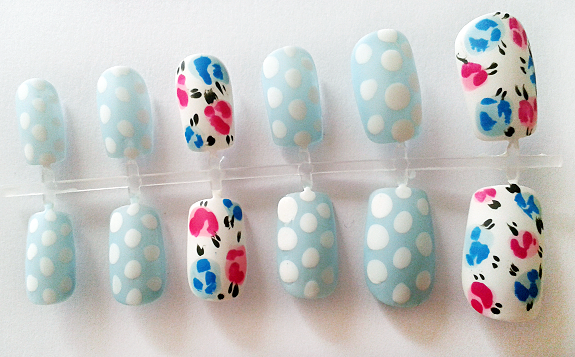
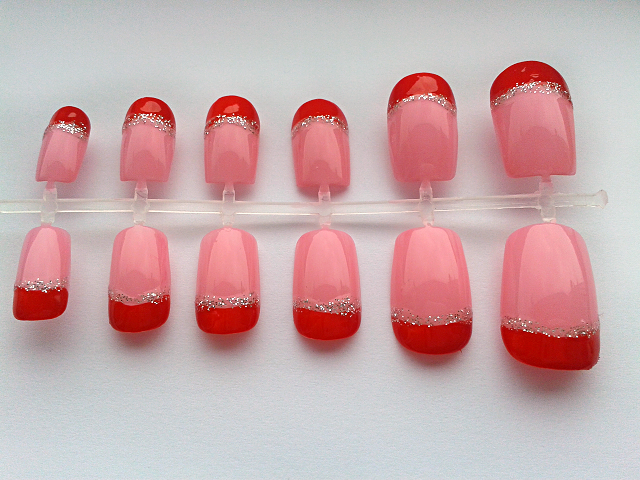
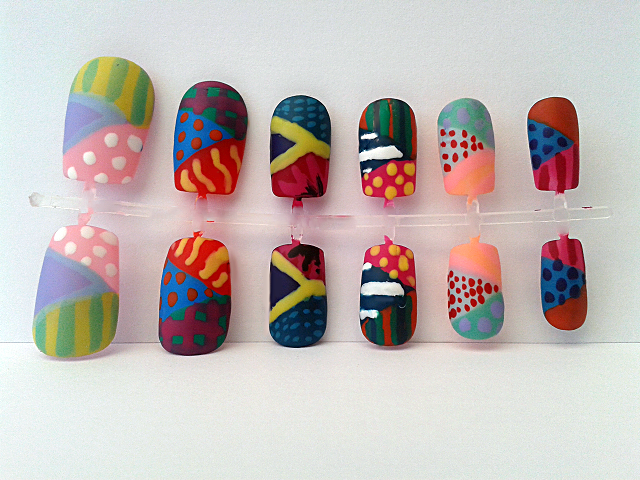
Bubblegum Stripes

Candy Stripes


Bubblegum Stripes

What I Used

Barry M Nail Paint – Strawberry Ice-Cream, Matt White – £2.99

Barry M Basecoat & Topcoat – £2.99

Essie Matte About You Mattifying Top Coat – £8.99

Nail Star Nail Art Brush & Pen – Silver Glitter – Bought in Set

Tutorial

Difficulty – 6/10

This one can get a bit fiddly as diagonal lines are more difficult than horizontal or vertical ones as you’ll have to take into account the edge of the brush (unless you want nail polish all over your fingers!)

1. Apply base coat.

2. Apply two coats of Strawberry Ice-Cream.

3. Apply diagonal lines of Matt White. Be careful to keep the spacing between lines even and take extra care at the edges. Apply a second coat if needed.

4. Apply matt top coat.

5. Using a (preferably) long brush, apply the silver glitter between the pink and white lines.

You can’t apply a top coat on top of the glitter if you want to keep the matt finish, so it could take a while to dry, so just be extra careful and give your nails a little longer than usual to dry.

*Available to buy at http://www.etsy.com/uk/shop/NailArtisan*

Nail Care Tip #3

It’s time for another nail care tip! This time it’s about nail polish remover, the different types and which are the best to use. There are two main categories of nail polishes remover – acetone and acetone-free. Nail polishes with acetone are much better for getting tough varnish off, so if you’re doing intricate nail art of you’ve put some strong, long-lasting polish on then this is probably the one for you. However if you have sensitive skin or if your nails need a little more TLC, then the acetone-free remover is best. Both these types may come with additional features though; some contain ingredients designed to soothe the skin around the nails, some have extra stuff to help strengthen and repair your nails, and some have great scents for those who can’t stand the usual smell of nail polish remover – it’s all about looking at the choice on offer.

Nail varnish remover also comes in different forms. There’s the traditional liquid remover, which you apply using a cotton pad or something similar. You can get wipes which will give you less for your money, but may be more convenient and less messy – I also find they don’t tend to have such a strong smell. You can also gets tubs filled with foam where all you do is stick your finger in and twist it until the polish is off. I’m not too familiar with this particular type of remover, but it offers obvious advantages in terms of ease of use and storage.

I personally use Cutex Nourishing nail polish remover (shown above). It’s strong enough to remove my nail polish, although probably with a little more work than the Ultra Cleansing one. Because I use it often though, as I’m always changing my nails, I opted for the nourishing type just to give my nails that little bit of extra potential. It contains Vitamin E and a nail whitening formula. As far as I know Cutex make nail polish removers in the following types: Nourishing, Ultra Cleansing, Moisture Guard, Acetone Free, Regular, and Strengthening, and also make nail polish remover pads.

New Country House Nails in Blue

Blue Country

I’m going to make a range of this nail design in different colours due to popular demand. Currently we have this colour; blue, and baby pink in stock, but look out for other colours soon.

We will also soon be stocking new ‘extra short’ nails. These will be made to reach just past the fingertips, for those who aren’t keen on the long nail look!

Visit my Etsy shop to find all the nail sets I have in stock – http://www.etsy.com/uk/shop/NailArtisan

Barry M Corrector Pen

Barry M Nail Paint Corrector Pen

Usually if I need to clean up my nail polish a bit after applying it I just use a cotton bud dipped in nail polish remover, however cotton buds have a blunt edge that can sometimes take the polish off where you don’t want it to, or it can be a bit fiddly getting it into the polish remover without spilling it everywhere.

When I was out in Leeds I saw this corrector pen in the 3 for 2 offer they had on Barry M products at Superdrug, so I thought I’d give it a go. It’s really easy to use and does exactly what it says on the tin, you literally just use it like a pen to remove nail polish wherever you want. It has a slanted tip so you can be really precise when using it – it also comes with two extra nibs so it’ll last for ages. You don’t need to shake it or anything else you literally just ‘colour in’ where your stray nail polish is. I imagine this could work pretty well with nail art as well.

It’s only a fiver, which is even better value when you factor the 3 for 2 deal in, which both Boots and Superdrug almost always have on. It removes nail polish quickly and easily, even the darker shades. If you don’t want to spend the extra bit of money there’s always the cotton bud, but this method is a lot quicker, easier and neater (and no spills!) Just another reason to love Barry M’s nail products!

Nail Care Tip #1

TIP #1 – ALWAYS USE A BASE COAT!

Nail polishes are full of various pigments and chemicals that can stain your nails if you don’t use a base coat, especially if you wear nail polish often. Using a base coat can also smooth the surface of your nails for easier application of nail polish, especially if you have an uneven nail surface, although if you have really deep ridges there are products called ‘ridge fillers’ designed to help with that problem. It takes two minutes and if you don’t have a basecoat, a top coat can often work just as well. There are different types that can help strengthen your nails or help them grow faster, which is an added bonus. On top of all this, using a base coat will make your polish stay on longer as it causes the polish to adhere to the nail better. Right at the moment I’m using Barry M’s Basecoat & Topcoat for £2.99, which is both a base coat and a top coat (it runs out easier but it’s one less bottle to store).

Patchwork Nails

Patchwork

Patchwork Nails

What I Used:

Finger 1

Barry M Nail Paint – Lemon Ice-Cream, Mint Green, Blue Moon, Strawberry Ice-Cream, Matt White – £2.99 each

Barry M Hi-Shine Nail Paint – Prickly Pear – £3.99

Finger 2

Barry M Nail Paint – Bright Purple, Bright Red, Cyan Blue, Spring Green, Lemon Ice-Cream, Bright Red – £2.99 each

Finger 3

Barry M Nail Paint – Lemon Ice-Cream, Bright Purple, Fuchsia, Cyan Blue, Indigo, Black – £2.99 each

Technic Nail Polish – South Pacific – 99p

Finger 4

Barry M Nail Paint – Spring Green, Matt White, Lemon Ice-Cream, Fuchsia – £2.99 each

Technic Nail Polish – South Pacific – 99p

Essie Nail Polish – Orange, It’s Obvious – £2.99

Finger 5

Barry M Nail Paint – Mint Green, Bright Red, Blue Moon, Strawberry Ice-Cream, Peach Melba – £2.99 each

Barry M Hi-Shine Nail Paint – Prickly Pear – £3.99

Finger 6

Barry M Nail Paint – Indigo, Raspberry, Fuchsia – £2.99 each

Essie Nail Polish – Orange, It’s Obvious – £2.99

Rimmel 60 Seconds Nail Polish – Sky High – £3.99

Basecoat

Barry M Basecoat & Topcoat – £2.99

Topcoat

Essie Matte About You Mattifying Top Coat – £8.99

Tutorial

Difficulty – 6/10

Whilst this design takes a LOT of patience, it’s not actually that difficult to do as it’s mostly spots and stripes. I’ll tell you how to start off and then the details are up to you!

1. Pick three red/pink colours – one light, one medium, one dark.

2. Apply base coat.

3. Apply two coats of light colour on one nail, medium on the next, dark on the one after that, then medium, then light.

4. Pick three blue/purple colours – one light, one medium, one dark.

5. Apply two coats of colour in the same pattern as before on top of the red, leaving only a triangle at the bottom of the nail, covering about a third of the nail (see picture above for reference)

6. Choose three green/yellow colours – one light, one medium, one dark.

6. Do the same again, only covering a triangle in the top third.

7. You now have your patches, so now add the decorations and patterns. You can do whatever you want, use whatever colours. You don’t have to follow the ones I used, get creative!

8. Once everything’s dry, apply a mattifying top coat.

This design’s so much fun – if you do try it, why not send the picture in? I’d love to see what you come up with!

*Available to buy at http://www.etsy.com/uk/listing/151607481/false-nail-set-european-short-nails?ref=shop_home_feat*

Glitter French Manicure Nail Sets

Blue Mani


Pink Mani


After doing this design on my nails I decided I liked it enough to do some false nails with it. I might do some more of this design in different colours if people show interest – I think yellow and orange with gold glitter might look nice 🙂

*Available to buy at http://www.etsy.com/uk/shop/NailArtisan*